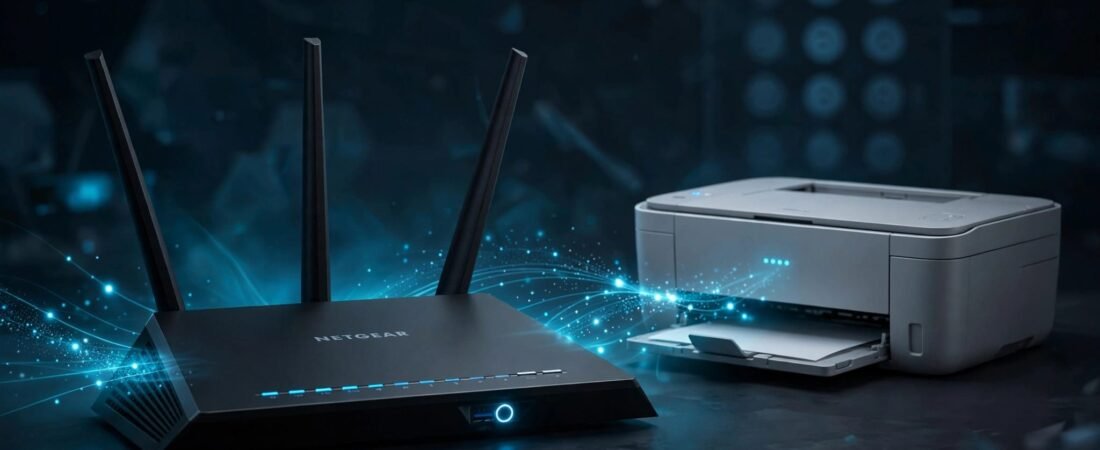
A printer asks you to press the WPS button on your NETGEAR router. Should you use it? NETGEAR WPS can save you from typing a long Wi-Fi password, but the connection method matters.
The push-button option is more sensible than the WPS PIN option. For most households, the practical choice is to use the button only when needed and disable WPS afterward if your model allows it. First, check which controls your router has.
This post may contain affiliate links. If you make a purchase through these links, I may earn a small commission at no extra cost to you.
Key Takeaways
- WPS connects a compatible device without requiring you to type your Wi-Fi password on that device.
- The WPS PIN is the main security concern. Disabling the PIN may leave push-button WPS available.
- A strong Wi-Fi password, current firmware, and suitable WPA security settings matter whether you use WPS or not.
How NETGEAR WPS Works
Wi-Fi Protected Setup, or WPS, is a shortcut for joining your wireless network. It can be useful for a printer or TV with awkward password entry. On a supported device, you start WPS on the router, then start it on the device. NETGEAR’s WPS connection instructions give you two minutes to complete the button process.
WPS doesn’t improve speed, extend coverage, or replace your router’s wireless security setting. It changes how a device joins the network. The router and the device must both support the method you choose.
Check the button label or your model’s manual before pressing anything. NETGEAR uses different hardware designs across Nighthawk routers and Orbi systems. A button that looks familiar on one model may have a different function on another.
Is NETGEAR WPS Safe for Home Wi-Fi?
NETGEAR WPS isn’t one single connection method. The distinction between a PIN and a physical button makes a difference when you decide what to leave enabled.
The WPS PIN Is the Bigger Concern
The PIN method lets a device join through a numerical code. That convenience comes with a known weakness: attackers within wireless range may try repeated guesses against a vulnerable PIN setup. NETGEAR recommends disabling the router’s WPS PIN function.
A strong Wi-Fi password doesn’t fix a weak PIN method. If you don’t need PIN-based pairing, turn that function off where your router provides the setting. You can still enter your regular Wi-Fi password when connecting most devices.
The Push Button Has a Limited Use
With push-button WPS, someone starts pairing at the router and on the device within a short window. That makes it a more practical choice than leaving PIN pairing available. It doesn’t make every WPS setup risk-free.
NETGEAR’s WPS security overview advises caution and recommends disabling WPS after use. If you can enter the Wi-Fi password without much trouble, that’s the simpler long-term choice. Keep WPS for devices where password entry is a genuine hassle.
When Using the WPS Button Makes Sense
Use the button when you have a compatible device in front of you and need to connect it now. A printer with a small screen is a good example. Follow that device’s WPS instructions rather than assuming every product starts pairing the same way.
Press the router’s WPS button, then start WPS on the device within NETGEAR’s two-minute window. Wait for the device to confirm its connection. If pairing fails, check whether the device supports button-based WPS instead of only a PIN, then try its normal password setup.
Don’t press WPS to fix a weak signal. A device in a dead zone may still struggle after it connects. If that sounds like your problem, troubleshoot weak Wi-Fi coverage before changing connection methods.
How to Check or Disable WPS on Your NETGEAR Router
Check the exact model number on your router or mesh unit first. NETGEAR settings vary by model and firmware, so a menu shown in a Nighthawk guide may not match your Orbi system.
Look for the PIN Setting
Connect to your router, open its local administration page, and sign in with the router admin password. NETGEAR’s Nighthawk WPS settings guide shows ADVANCED > Advanced Setup > Wireless Settings on supported models. There, you may find a Disable Router’s PIN checkbox.
Your router admin password is separate from your Wi-Fi password. If you’ve changed either one, use your current credentials. Record the setting before you change it so you can tell what your router actually allows.
Confirm What the Switch Turns Off
Disabling the router’s PIN doesn’t necessarily disable push-button WPS. Don’t treat the PIN checkbox as a full WPS-off switch. Look for a separate WPS control in your model’s settings or manual if you want the feature completely off.
If your router offers no full-off option, disable the PIN where possible and avoid starting button pairing unless you need it. After any change, check that your existing devices still connect normally. You shouldn’t need to change your Wi-Fi name or password just to review WPS.
Keep the Rest of Your Wi-Fi Secure
WPS is one setting among several. Use a unique router admin password and a different, long Wi-Fi password. Choose WPA3-Personal when your router and devices support it. WPA2/WPA3 mixed mode may be more practical if an older printer or smart-home device won’t connect.
Check for firmware updates, and use a separate guest network for visitors if your model supports one. These are basic settings you can review without buying a security subscription. For a broader walkthrough, see how to secure your router during setup.
The Practical Choice for Your Home
If a device offers normal password setup, use it. If WPS saves you trouble, prefer the push button and turn off the PIN where your router permits it.
The button can make joining Wi-Fi easier, but ease of setup isn’t ongoing protection. Your passwords, wireless security setting, and firmware still do that work.