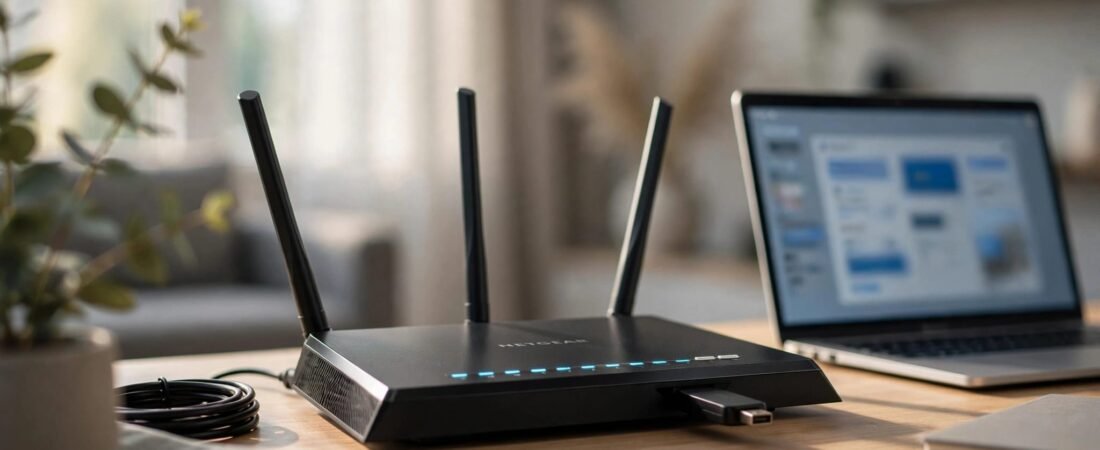
You don’t need a separate storage server to share a USB storage device around your home. NETGEAR ReadySHARE lets compatible routers make connected storage available to household computers.
The important checks are router compatibility, folder permissions, and Windows security settings. A drive that worked on an older computer may need a different approach after a Windows 11 upgrade.
Start by confirming what your router supports, then set up local access before changing anything on your computers.
This post may contain affiliate links. If you make a purchase through these links, I may earn a small commission at no extra cost to you.
Key Takeaways
- Confirm your NETGEAR router supports ReadySHARE and the USB drive’s filesystem before connecting or reformatting it.
- Set up the share in the router’s storage settings, review folder permissions, and test access from a computer on your main home network.
- Open the share directly with
\\readyshareon Windows orsmb://readyshareon a Mac; File Explorer’s Network listing may not show it automatically. - For Windows 11 issues, check the router’s firmware and authentication settings instead of enabling SMB 1.0 or weakening Windows security.
- Keep shared storage local, restrict access appropriately, and maintain a separate backup of important files.
Check Your Router and USB Drive First
I’m Steve Neff, founder of Better WiFi Shop. My interest in home networking started when I learned faster internet doesn’t always fix Wi-Fi problems. For file sharing, checking your existing equipment can also help you avoid unnecessary purchases.
Confirm ReadySHARE Support
Check the model number on your Netgear router’s label and find its manual. A USB port alone doesn’t confirm that the router supports storage sharing.
NETGEAR routers don’t all have the same USB features, supported drive formats, or storage limits. Check those details before choosing a storage device or reformatting one you already own.
Your router should already have a working home network. If you’re installing it for the first time, finish the basic router setup before adding storage. ReadySHARE is a local-network feature, so your internet plan’s speed doesn’t determine local file-transfer speed.
Check the Drive’s Power and Filesystem
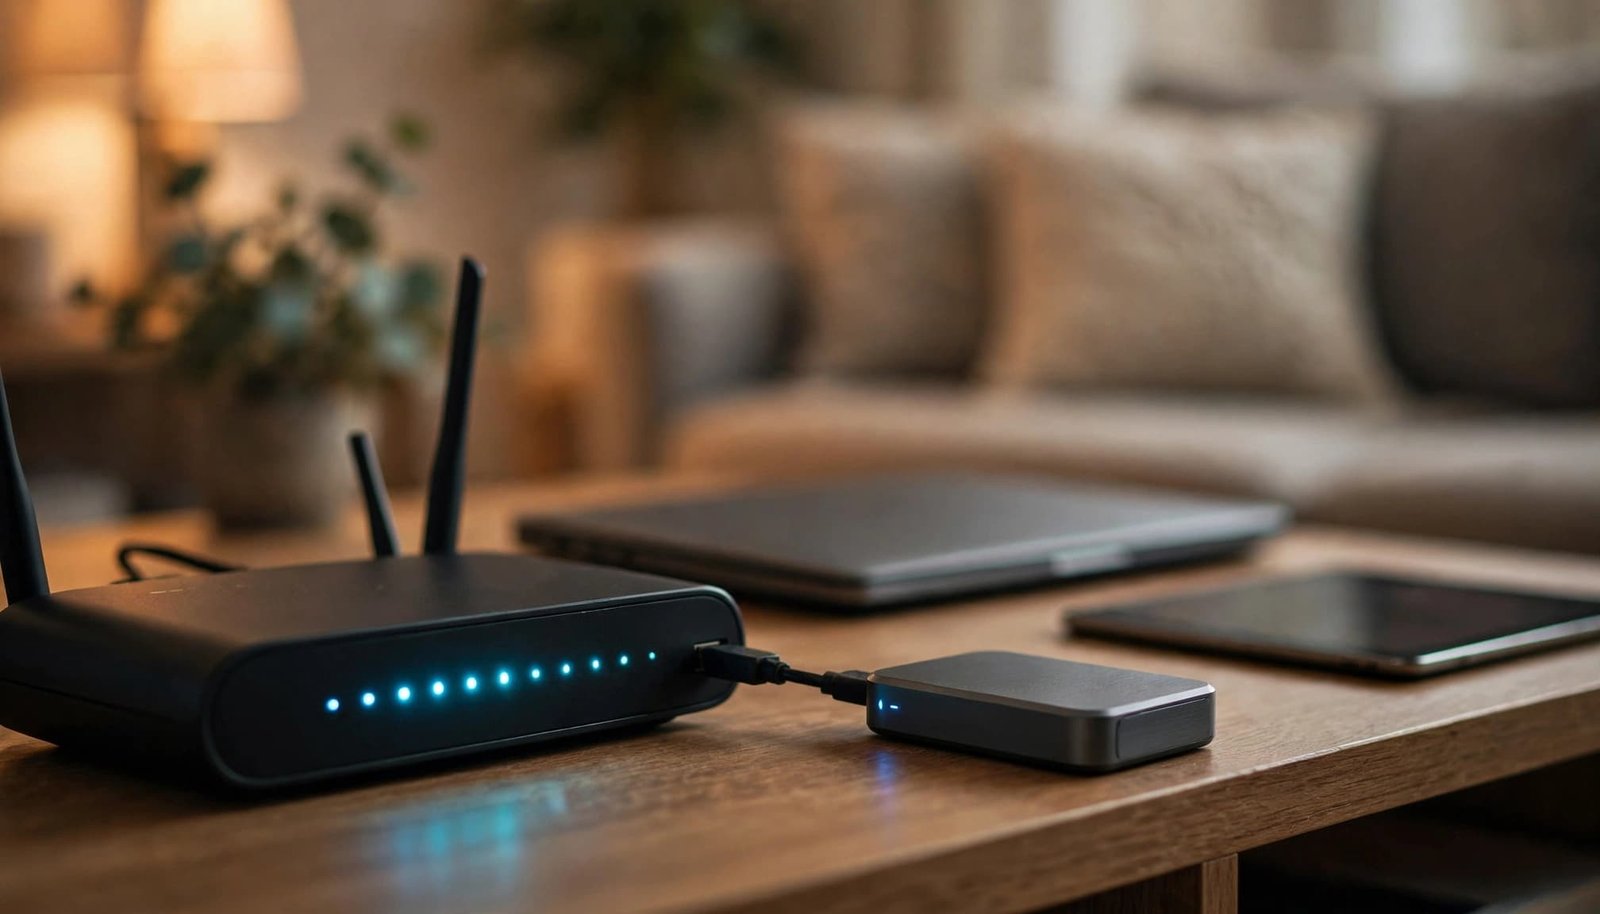
Use a USB flash drive or external hard drive supported by your router. If the drive has its own power adapter, connect it.
Back up existing files before changing the drive’s format. Formatting erases its contents, and a filesystem that works on your computer may not work on your router.
An encrypted drive may also require software the router can’t run. Check compatibility rather than assuming the router can unlock it.
NETGEAR ReadySHARE Setup Steps
Use a computer connected to your main home Wi-Fi or a router LAN port. Avoid the guest network during setup.
- Connect the USB drive to the router’s supported storage port. Use the USB 3.0 port if your model’s instructions recommend it.
- Let the router detect the drive. Some Nighthawk router manuals allow up to two minutes, but detection time varies by model.
- For router login, open
routerlogin.netin a browser. If it doesn’t load, use the router’s local IP address instead. - Sign in with your router administrator credentials. These are separate from your Wi-Fi password and NETGEAR account.
- Look for USB Storage. One documented path is ADVANCED > USB Functions > USB Storage.
- Confirm that the drive and available network folders appear. Save any changes with Apply.
Other interfaces place these settings under ADVANCED > ReadySHARE, with additional controls inside Advanced Settings. NETGEAR’s ReadySHARE storage interface guide describes the storage controls, but your model’s manual should settle any menu differences.
Don’t assume a detected drive is already private. Review its permissions before putting personal documents on it. If the drive isn’t listed, resolve that problem before troubleshooting Windows.
Create Shared Folders and Set Permissions
A shared folder gives household computers a specific place to open files. Separate folders can make shared photos easier to manage without exposing everything on the drive.
Choose the Folder You Want to Share
In ReadySHARE storage settings, look for Available Network Folders and Create Network Folder. Select the connected drive and the folder you want to share.
Enter a clear share name, then review the access controls before selecting Apply. Depending on your model, these options may appear under Advanced Settings. Follow your router’s manual if the menu labels differ.
If your router offers Edit instead, you can adjust an existing share. Check whether the default share exposes the whole drive. Keep private material outside broadly accessible folders.
Separate Read Access From Write Access
Read access lets someone open and copy files. Write access also allows changes, including adding or deleting files.
Some NETGEAR interfaces use All – no password as the default. That can allow devices with local-network access to use the share without a separate storage password.
On supported interfaces, selecting admin requires the router administrator credentials. Set read and write access separately where available.
For a shared photo collection, read-only access can reduce accidental deletion. Be careful about sharing the router administrator password, since it also controls router settings. Don’t assume ReadySHARE provides individual household user accounts.
Open the USB Share on Windows or Mac
Once the router recognizes the drive, test the network share from one computer on your local network. NETGEAR’s ReadySHARE access instructions document local connection paths for Windows and Mac.
Connect From Windows File Explorer
Open File Explorer and enter \\readyshare in the address bar. Press Enter, then open the available shared folder.
Use the address bar, not the search box. You can also press Windows key + R, enter the same path, and select OK.
If the router requests credentials, use the access requirements you selected in its storage settings. Don’t assume your Windows login or Wi-Fi password is the right credential.
Test read access by opening an existing file. If you intend to allow writing, copy a small file to the folder and confirm it appears.
Connect From a Mac
In Finder, choose Go, then Connect to Server. Enter smb://readyshare and select Connect.
Choose the share and provide credentials if required. The router’s permissions determine whether the Mac can only read files or also change them.
After confirming access, add the location to Finder’s sidebar for easier use. On Windows, you can map the shared drive as a network drive.
Create shortcuts only after the connection works. A mapped drive or sidebar entry won’t correct an underlying access problem.
Fix a ReadySHARE Drive Missing From File Explorer
A missing entry under Network doesn’t automatically mean the USB drive has failed. Start by separating a router storage problem from a computer connection problem.
Check the Router Before Windows
Return to the router’s ReadySHARE page. If it doesn’t list the drive, check the USB cable, external power, supported filesystem, and storage port.
If practical, connect the drive directly to a computer to confirm it can read the files. Use the router’s safe-removal option before disconnecting storage, where available.
A drive that works on a computer can still be incompatible with the router. Don’t format it until you’ve protected its contents and checked your model’s requirements.
Avoid a factory reset as an early troubleshooting step. It can erase working network settings without resolving drive compatibility.
Check Local Access and Network Discovery
Confirm that the computer is on the NETGEAR router’s main network. Guest-network isolation can intentionally block storage access.
If an ISP gateway also broadcasts Wi-Fi, check the router’s ip address to verify which network your computer joined. Temporarily disconnect a VPN during local testing if it prevents access to home devices.
Enter \\readyshare directly, or try \\ followed by the router’s ip address, rather than relying on the Network listing. On a trusted home network, use Control Panel to check that Windows 11 uses the Private network profile and that Network Discovery is enabled.
Network Discovery controls visibility in File Explorer. A directly opened share can still work when it isn’t listed automatically.
If the shared drive won’t open, note whether Windows reports missing storage, rejected credentials, or a security restriction. That detail can guide further troubleshooting.
Windows 11: Keep Security Settings Intact
Older ReadySHARE setups can run into modern restrictions in Windows 11. The right fix depends on the router’s firmware, supported sharing protocol, and authentication settings.
Don’t Enable SMB 1.0 as the First Fix
SMB is the protocol commonly used for network file sharing. Microsoft’s SMBv1 compatibility guidance explains that SMB 1.0 is deprecated and isn’t installed by default in modern Windows.
That doesn’t mean every NETGEAR ReadySHARE router requires SMB 1.0. Check your exact model and firmware before drawing that conclusion.
Install available router firmware updates using the manufacturer’s instructions. Then test the documented share path again.
If your router only supports SMB 1.0, consider moving storage to a computer or NAS that supports modern SMB sharing.
Avoid Insecure Guest-Access Workarounds
A share configured for password-free access can conflict with Windows security requirements. Don’t respond by disabling protections across the computer.
Review the router’s permission settings and use authenticated access if your model supports it. Check that the credentials match the share’s selected access level.
A working connection after weakening Windows security doesn’t establish that the setup is safe for everyday use.
If authenticated access still fails, continue troubleshooting with model-specific support information. Don’t apply registry changes or guest-logon policies from instructions for a different router. Replacing an unsupported sharing method is often a better long-term choice.
Keep Shared Files Private and Backed Up
ReadySHARE makes files convenient to access, but convenience doesn’t provide a separate backup. Keep another copy of anything you can’t afford to lose, separate from the shared drive.
Keep Storage on Your Home Network
Local sharing doesn’t require port forwarding. Leave internet-facing storage access disabled unless you have a clear need and a supported, secure setup.
NETGEAR documents remote USB storage access separately from ordinary household sharing. Don’t enable remote options to fix a local connection.
Keep guest access to your local network disabled. Visitors should have internet access without browsing household storage.
ReadyDLNA is a separate media server feature that makes supported content available to compatible players and TVs. It doesn’t replace ReadySHARE folder access or solve Windows file-sharing problems. Availability depends on the router model.
Keep Backup Tools Separate
ReadySHARE Vault is a Windows file-backup utility, and NETGEAR lists it as end-of-life. Check compatibility and support before relying on an existing installation.
It also differs from a router configuration backup. A router’s .cfg file saves settings, not your photos, documents, or USB-drive contents.
For important files, keep a separate backup that doesn’t depend on this router and drive. Read-only sharing helps prevent household mistakes, but it doesn’t protect against drive failure.
Frequently Asked Questions
What is NETGEAR ReadySHARE?
ReadySHARE lets compatible NETGEAR routers share a connected USB storage device with computers on the local network. Supported features and drive requirements vary by router model.
How do I access ReadySHARE from Windows?
In File Explorer’s address bar, enter \\readyshare and press Enter. If the router asks for credentials, use the access requirements configured in its storage settings.
Why can’t Windows 11 open my ReadySHARE drive?
The issue may involve router compatibility, folder permissions, network access, or a legacy sharing protocol. Check your router model and firmware, and avoid enabling SMB 1.0 or weakening Windows security as a first fix.
Is ReadySHARE a backup for my files?
No. ReadySHARE provides network access to files on a connected USB drive, but it doesn’t create a separate backup. Keep another copy of important files on different storage.
Choose a Setup That Works Without Security Shortcuts
NETGEAR ReadySHARE can be a practical way to share files using equipment you already own. Confirm drive support, limit folder permissions, and test access from one computer first.
If Windows 11 exposes a legacy compatibility problem, keep security protections in place. During troubleshooting, use a supported sharing method rather than forcing an old setup to work through insecure settings.
A dependable home share should be easy to open, appropriately restricted, and backed up elsewhere.