A Netgear router can have strong Wi-Fi and still show “No Internet” if the WAN connection type is wrong. Most fiber installs use automatic DHCP, but some use PPPoE, which requires a username and password from your internet service provider.
This Netgear PPPoE setup guide helps you connect a Nighthawk or other router to fiber equipment, enter the right settings, and avoid common mistakes with VLAN tagging, IPv6, and double NAT. The Nighthawk app can help with basic setup, but it isn’t a substitute for advanced WAN configuration.
Start with the physical connection and provider details before changing advanced settings.
This post may contain affiliate links. If you make a purchase through these links, I may earn a small commission at no extra cost to you.
Key Takeaways
- Connect the fiber ONT’s Ethernet port to the Netgear router’s Internet or WAN port, not a regular LAN port.
- Choose PPPoE only when your provider confirms it. Many fiber services use DHCP instead.
- PPPoE credentials are service credentials from your ISP, not your Wi-Fi password.
- Use the router web interface for VLAN tagging, IPv6 setup, and other advanced WAN settings.
- A WAN IP address of
0.0.0.0means the router has not received an internet address. - VPI and VCI values apply to DSL service, not a normal Ethernet connection from a fiber ONT.
Start With the Right Fiber Connection
Fiber internet uses an Optical Network Terminal, or ONT. The ONT converts the fiber signal into Ethernet for your router. It takes the place of a cable modem, but it is usually provider-owned equipment that should stay connected.
Connect the ONT to the WAN Port
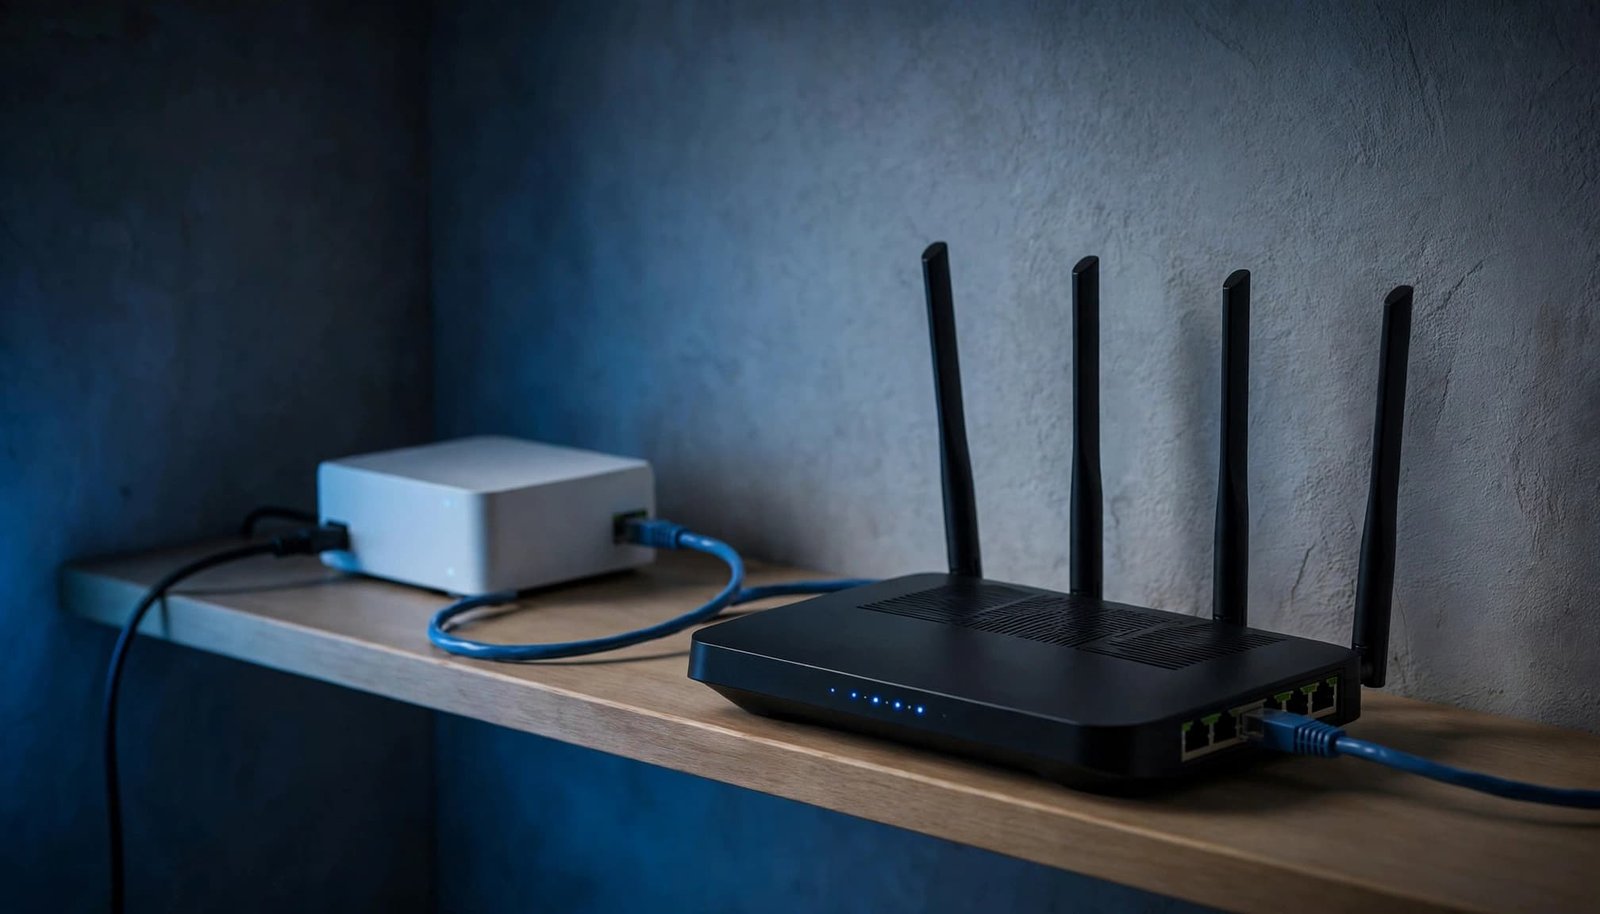
Leave the thin fiber cable and optical connector alone. Find the ONT’s active Ethernet, Data, or GE port. Run one Cat5e or Cat6 Ethernet cable from that port to the Netgear router’s Internet or WAN port.
Don’t plug the ONT cable into one of the router’s numbered LAN ports. The correct path is ONT -> Netgear WAN port -> your wired and wireless devices.
If you are replacing provider equipment, keep it nearby until the router is online. These ISP router activation steps can help if the provider needs to recognize the new router or release the previous connection.
Confirm the WAN connection type Before You Change It
Don’t assume fiber always uses PPPoE. Google Fiber and many newer fiber installs use DHCP, also called Dynamic IP or automatic IP. Other providers use PPPoE, VLAN tagging, or a provider gateway.
Ask your internet service provider these questions before setup:
- Does my address use DHCP or PPPoE?
- If it uses PPPoE, what are my exact username and password?
- Is VLAN tagging required? If so, what VLAN ID should I enter?
- Does the provider register the router by MAC address?
- Must the provider gateway remain connected for phone, TV, or account support?
Don’t clone a MAC address unless the provider tells you to. Don’t enter a VLAN ID based on an old forum post either. Those settings depend on the service at your address.
A fiber ONT can be online while the router still has no internet. The missing piece is often the correct WAN type or PPPoE login.
Netgear PPPoE Setup for IPv4 Fiber Service
A standard PPPoE connection gives your router a public IP address after it signs in with the credentials supplied by your ISP.
Open the Router Web Interface
Connect a computer to the router by Ethernet if possible. You can also join its default Wi-Fi network during first-time setup.
Open a browser and enter routerlogin.net. If that doesn’t load, try the router’s local address listed in its manual or setup screen. Sign in with the administrator credentials you created during setup.
Menu names vary by model and firmware. On many Nighthawk routers, start under the basic tab or ADVANCED, then open Internet or Internet Setup.
The browser settings are the better choice for PPPoE because they show the full WAN configuration. The Nighthawk app can help with initial setup on supported models, but it doesn’t expose every advanced setting.
Choose PPPoE and Enter the Provider Login
Under Internet Setup, select PPPoE from the internet connection type menu. Enter the provider login information, including the username and password supplied by your ISP.
These aren’t the same as your Wi-Fi network name and password. A single wrong character can stop the connection.
Save the settings and wait for the router to reconnect. Keep the MTU setting at its default unless your provider gives you a different value. MTU is the largest packet size your connection sends. It isn’t a setting to change as a first troubleshooting step.
Some firmware offers three connection modes:
| Connection mode | Best use |
|---|---|
| Always On | Most home fiber connections that should stay connected |
| dial on demand | Connections that only need to sign in when traffic starts |
| Manually Connect | Special cases where you want to start the connection yourself |
For most homes and small offices, choose Always On. It avoids delays when a phone, TV, camera, or computer needs internet access.
Configure PPPoE IPv6 on a Nighthawk Router
An IPv6 internet connection uses settings separate from your regular IPv4 PPPoE login. Your internet provider must support IPv6 and specify whether it uses Auto Detect, PPPoE, or fixed values.
Use the IPv6 Menu, Not the Regular Internet Page
On a compatible Nighthawk router, open the router web interface and go to ADVANCED > Advanced Setup > IPv6. Select PPPoE from the internet connection type list, then enter separate IPv6 login details if your provider supplied them.
NETGEAR’s PPoE IPv6 setup instructions confirm this menu path for supported Nighthawk models.
Save the settings and let the router reconnect. Don’t copy an IPv4 gateway, DNS address, or subnet value into IPv6 fields unless your provider gives you those exact values.
Check the WAN Address and LAN Prefix
A working IPv6 setup needs more than an enabled setting. Check the router status page for a global WAN IP address and an IPv6 prefix delegated to your home network.
For most households, Auto Config is the right LAN setting. The router then advertises IPv6 service to phones, computers, TVs, and other connected devices.
If your ISP specifically provides static IP values for IPv6, enter them exactly as supplied. NETGEAR also has general IPv6 setup guidance for models with different available connection types.
When to Use the App or the Web Interface
The Nighthawk app is useful for guided setup, checking connected devices, changing Wi-Fi names, and basic network management. It can be the easier path when your fiber service uses ordinary DHCP or a basic supported PPPoE setup.
Use the App for Basic First-Time Setup
Start the Nighthawk app after the ONT is connected to the router’s WAN port and the router has powered on. Follow the prompts to create a Wi-Fi name, password, and security settings, then use the Nighthawk app for basic post-setup management.
Use WPA3 when all your devices support it. WPA2/WPA3 mixed mode is often a practical choice for homes with older smart devices.
Once the internet works, update router firmware before judging Wi-Fi performance. Firmware updates can fix connection and security problems.
Use a Browser for Advanced WAN Settings
Use the router web interface when advanced setup requires VLAN tagging, PPPoE IPv6, a static IP, or a detailed WAN status check. These options may not appear in the app.
VLAN tagging adds an ID to internet traffic so the provider can place it on the right network. It is only required when the ISP says it is required.
If an ISP gateway remains active, decide which device should run the home network configuration. Use bridge mode or IP passthrough if the provider supports it and you want the Netgear router to handle routing. Otherwise, use Access Point Mode on the Netgear to avoid double NAT. This guide to replacing an ISP router explains the difference.
DSL and VDSL Settings Are Different
Some older DSL and VDSL services also use PPPoE. The login step looks familiar, but ADSL settings aren’t part of a normal fiber ONT setup.
Use PPPoE Only After the DSL Line Is Ready
A DSL modem router connects to a DSL wall outlet through its DSL port. The PPPoE connection starts after the DSL line is active.
A standalone Wi-Fi router connects by Ethernet to a separate DSL modem or bridged gateway, rather than using a DSL modem router.
For manual configuration, open the device’s web interface and select the ADSL settings. Then choose PPPoE and enter the ISP’s login information. The Netgear genie setup path is covered in NETGEAR’s DSL modem router configuration guide.
Get VPI and VCI Values From the ISP
VPI and VCI identify the virtual circuit used by some ADSL services. There is no universal pair of values for every provider, country, or account.
Contact the ISP and ask for the required ADSL settings, DSL mode, encapsulation, multiplexing method, VPI and VCI, and PPPoE or PPPoA connection type. Use the linked Netgear genie guide to confirm these required DSL values, including the multiplexing method.
These values vary by ISP and don’t apply to a normal Ethernet handoff from a fiber ONT.
If your service has moved from DSL to fiber, you usually need a standalone router with an Ethernet port, not a DSL device.
Fix a Netgear Router Showing 0.0.0.0
A WAN IP address of 0.0.0.0 means the router didn’t obtain an address from the ISP. Your Wi-Fi may still appear on phones and laptops, but the router has no working internet connection.
Check the Simple Problems First
Confirm the Ethernet cable runs from the active ONT port to the router’s WAN port. Reseat both ends and check the Ethernet port LED, then test another known-good cable if needed.
Review the WAN connection type. If the provider uses DHCP, select Dynamic IP or Get Dynamically from ISP. If it uses PPPoE, re-enter the username and password. Check for required VLAN tagging before changing unrelated settings.
Use the Nighthawk app for a basic status check, then confirm the WAN state on the router status screen. The app doesn’t replace the browser interface for advanced WAN troubleshooting.
Test one computer by Ethernet after the router connects. Good wired speeds with poor Wi-Fi point to a coverage or router placement issue, not a PPPoE failure.
Restart the Equipment in the Right Order
Turn off the router. If you recently replaced an old gateway, turn that off too. Restart the ONT or provider gateway first and wait until its normal connection lights return.
Then power on the router and give it several minutes to request service. A longer power-off period can help clear an old connection lease, but it won’t fix missing PPPoE credentials or a required VLAN ID.
Don’t factory-reset the router as your first move. Take screenshots or photos of the WAN settings first. If the ONT has abnormal lights or authentication still fails, contact the provider with the PPPoE error details.
Frequently Asked Questions
Can I use a Netgear router directly with fiber internet?
Usually, yes. Connect the ONT’s Ethernet handoff to the router’s WAN port. Confirm that the provider allows a direct connection and find out whether it uses DHCP, PPPoE, VLAN tagging, or a provider gateway.
Should I select PPPoE or DHCP for fiber?
Select DHCP for most standard fiber installs. Use PPPoE only if the provider gives you a username and password. Guessing can leave the router offline even when the ONT is working.
Why does my Netgear router show 0.0.0.0?
The router did not receive a WAN address. Check the ONT-to-WAN cable, internet connection type, PPPoE credentials, VLAN requirement, and restart order.
Can the Nighthawk app configure VLAN-tagged PPPoE?
Use the router web interface for VLAN-tagged PPPoE and other advanced WAN settings. The app is better for guided setup and basic network management.
Do I need a modem for fiber internet?
No cable modem is needed. The ONT handles the fiber conversion. Keep the provider’s ONT in place and connect its Ethernet port to your Netgear router.
A Clean PPPoE Setup Starts With ISP Details
The right Netgear PPPoE setup is simple once you know the provider’s WAN requirements. Connect the ONT to the WAN port, enter PPPoE credentials only when required, and use the web interface for VLAN and IPv6 settings.
A 0.0.0.0 address is not a Wi-Fi problem. It is a sign to check the physical handoff, WAN type, and provider details before changing anything else.
The best result is a single clear network setup, with one device handling routing and the right settings for your specific fiber service.