A smart camera, thermostat, speaker, and doorbell can make a home easier to manage. They can also add many devices to your everyday Wi-Fi setup.
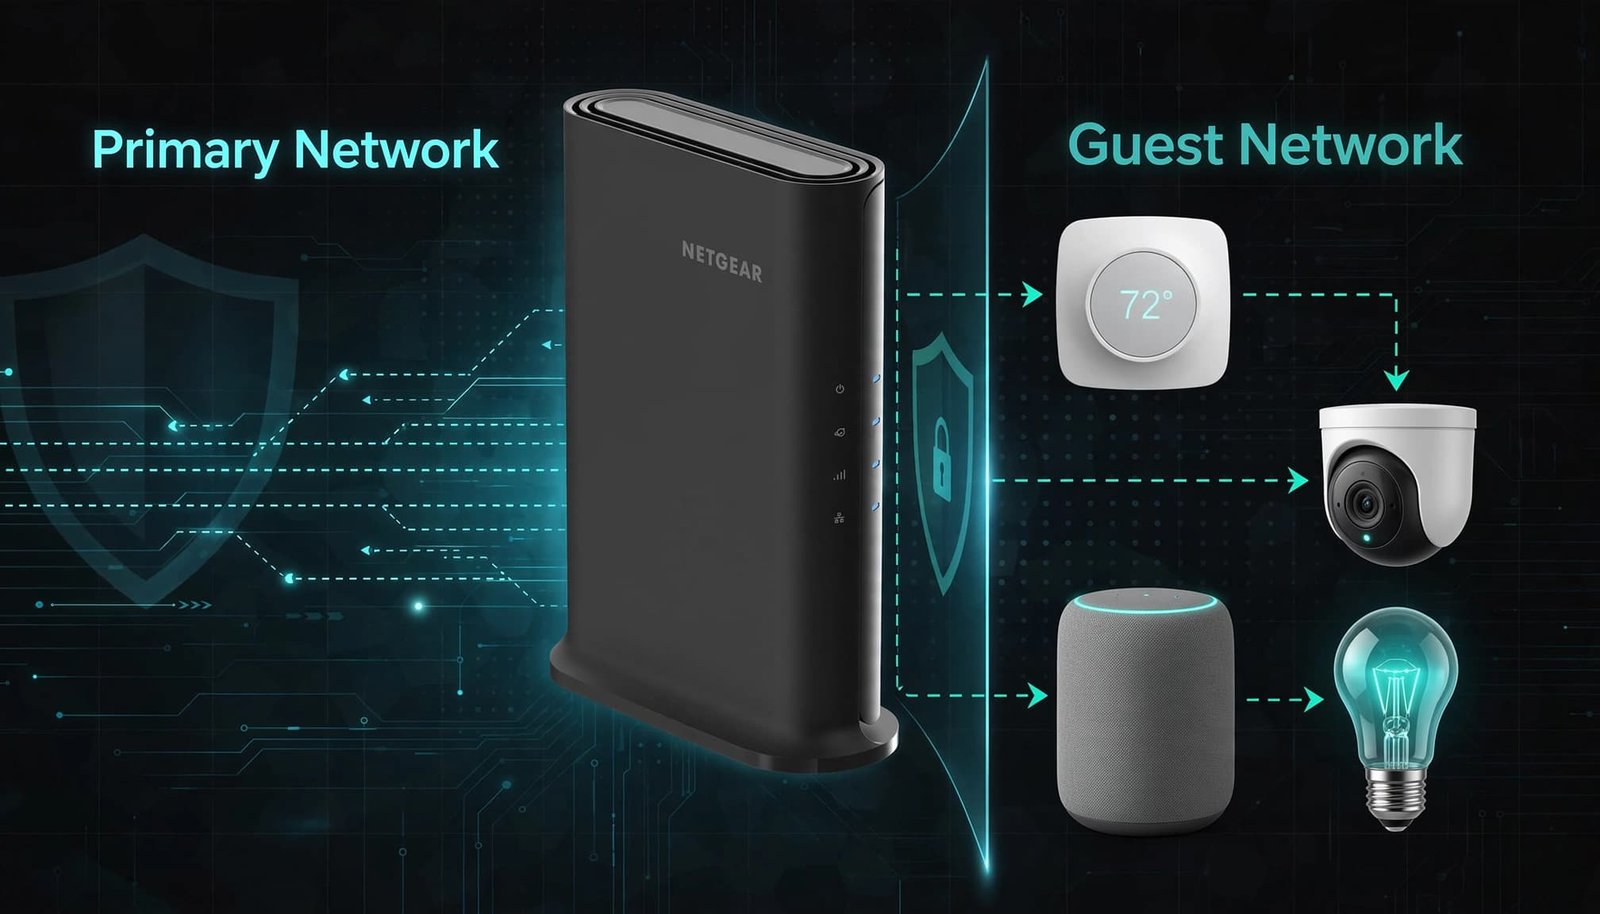
A Netgear guest network gives those devices a separate place to connect. Your computers and files can stay on your home network, while smart devices use guest WiFi with a different name.
The setup is simple on many Nighthawk routers. Guest isolation can stop smart devices from discovering your phone, hub, or streaming equipment.
This post may contain affiliate links. If you make a purchase through these links, I may earn a small commission at no extra cost to you.
Key Takeaways
- A Netgear guest network can separate cloud-managed smart home devices from computers, storage, printers, and other trusted equipment.
- Use a recognizable guest SSID, a unique strong password, and the 2.4 GHz WiFi band when smart devices require broader compatibility.
- Keep guest access to the local network disabled by default, since isolation can prevent devices from discovering phones, hubs, printers, or streaming equipment.
- Set up one smart device at a time and test its app, controls, and internet connection before moving the rest of your IoT devices.
- Smart hubs, local cameras, printers, NAS devices, and products that rely on local discovery may need to remain on the trusted home network.
Why Use a Guest Network for Smart Home Devices?
Guest WiFi is not only for visitors. It is a practical option for smart home devices that do not need access to your computers, network storage, or printer.
Many IoT devices receive security updates less often than phones and laptops, and some use older Wi-Fi security methods. Placing them on a separate connection creates network separation and limits what they can reach if one device has a problem.
Keep Personal Devices on the Primary Network
Keep trusted devices that store personal information or need local discovery with each other on your home LAN. That often includes:
- Work computers, personal computers, and tablets
- Phones used to control local devices
- Printers, network storage, shared folders, and other shared resources
- Locally managed game or media systems
- Smart hubs or bridges that must communicate with devices on the trusted LAN
These devices often need local discovery or shared services, so an isolated guest connection can break their normal functions.
A guest wireless network separates trusted devices from smart plugs, cameras, bulbs, and similar IoT devices. Cameras, bulbs, plugs, and cloud-managed thermostats are usually better candidates, but a camera tied to a local NVR or hub may need a different placement.
This arrangement adds network security, but it isn’t a replacement for unique passwords, firmware updates, or secure device settings. For more practical ways to protect connected devices, review these IoT device security best practices before moving them.
Guest Wi-Fi Is Separation, Not Magic
On a typical consumer router, the firewall enforces basic rules that restrict guest traffic from reaching trusted devices. This provides basic separation, not enterprise-grade inspection.
That distinction matters. A basic guest network can block access to trusted devices. A managed setup using VLANs can create more detailed rules for cameras, smart hubs, employee devices, and wired equipment.
Router menus vary. A related option may be called client isolation, or may ask whether guests can see one another.
A setting that blocks guest access to the local network can also prevent smart devices from finding a phone, hub, printer, or streaming box.
Start with simple separation, and check each device’s need for local discovery before moving it. Add advanced controls only if your equipment and home setup require them.
Plan the Wi-Fi Setup Before Moving Devices
Don’t move every smart device to guest WiFi in one afternoon. Start with one device, confirm that it works, then move the rest.
Write down the name and password for your current primary network before changing anything. During onboarding, your phone may need to reconnect to this trusted wireless network before moving back to the isolated guest network.
Choose the Right Wi-Fi Band
Most low-power smart home devices use the 2.4 GHz WiFi band. It reaches farther and works better through walls than the 5 GHz WiFi band, which is faster but less broadly compatible. Smart plugs, cameras, switches, and older thermostats often support 2.4 GHz only.
Some newer devices require 5 GHz, and band steering can make onboarding fail when band choices are hidden.
Names such as NETGEAR-Guest and NETGEAR-5G-Guest may identify the 2.4 GHz and 5 GHz versions, but they’re examples only, not universal labels. Your router may display a different default guest SSID or a name you created earlier.
Create a recognizable name such as Home-IoT-Guest, and use a unique password. Avoid adding your address, last name, or apartment number.
If your router combines bands through Smart Connect, it may use one name for your main network. NETGEAR explains how Smart Connect combines 2.4 GHz and 5 GHz bands, while guest controls may still differ by band. The router model, firmware, and band-steering settings can change how these controls appear.
Decide Whether Devices Need Local Access
This is the part that causes the most confusion. Your router may show a checkbox similar to:
Allow guests to see each other and access my local network
For an isolated guest setup, leave that box unchecked. Devices should retain internet access without reaching computers or other trusted devices.
Some products need more access during setup. A smart TV may need to see a phone for casting. A camera system may need to find its local hub, and a controller may need similar access. A printer will not usually be visible from the guest network.
If something stops working, don’t assume the router is broken. The isolation rule may be doing exactly what it should.
How to Set Up Guest Wi-Fi on a Netgear Nighthawk
You can usually manage guest Wi-Fi through the Nighthawk app or router web interface. Menu names vary by router model and firmware. The basic process remains similar.
The browser method is useful when the app cannot find the router or when you want to see more settings at once.
Note: Some models expose separate guest controls for 2.4 GHz and 5 GHz. Others combine these choices or simplify them.
Set Up Guest Wi-Fi in a Browser
Connect a computer or phone to your trusted home Wi-Fi. Then open a browser and go to routerlogin.net.
Sign in with your router administrator credentials. These are not the same as your Wi-Fi password unless you made them the same during setup.
Then follow these steps:
- Open Guest Network, or a similarly named wireless settings page.
- Enable the required band, usually 2.4 GHz for broad compatibility. Enable the 5 GHz WiFi band only if your devices support it.
- Create a guest SSID and a unique, strong password.
- Leave SSID broadcast on so smart devices can find the network.
- Choose the strongest compatible mode, such as WPA2 security or WPA2/WPA3 when both support it.
- Keep local access disabled by default. The router’s firewall and guest rules help enforce that setting.
- Save or apply the changes, then confirm the profile provides internet access for devices that need cloud services.
NETGEAR’s official Nighthawk guest Wi-Fi setup instructions show the same browser-based path.
Use the Nighthawk App When It Is Available
On supported models, open the Nighthawk app and look for a Guest WiFi tile, a WiFi settings menu, or a model-specific dashboard. Choose the guest settings, then enter the band, network name, password, and security method.
Some apps use a guest-network time period for visitors. That option is useful for guests, but it isn’t a good fit for thermostats, cameras, or other always-on devices. Choose a permanent profile so those devices remain connected.
Use a long password that you don’t reuse on your main Wi-Fi. Guest Wi-Fi should be separate in more than one way.
Connect Smart Home Devices Without Starting Over
Smart home setup apps can be picky. Many IoT devices are configured through a manufacturer app.
The app may require your phone and device to use the same Wi-Fi network initially. That creates friction when your phone uses its usual connection while the new device joins an isolated connection.
Set Up One Device at a Time
Begin with a simple device, such as a smart plug or light bulb. In its manufacturer app, select the new 2.4 GHz connection and enter its credentials carefully.
Some apps temporarily connect your phone directly to the device. Others ask you to join the device’s temporary setup Wi-Fi for a minute.
The app may also request permissions for nearby devices and same-network access. Follow the prompts, then return your phone to the appropriate connection.
Once the device is online, test it in the manufacturer app. Check its status, control it, or view a camera feed before moving on.
Keep Smart Hubs and Controllers in Mind
A hub changes the plan. Smart hubs and bridges often need to communicate with devices and your phone through local discovery.
Try placing a Wi-Fi hub on the isolated connection first, if it supports that setup. If control becomes unreliable, keep it on the trusted home connection with the devices it manages.
Voice assistants and streaming devices can create similar issues. Alexa, Google Home, Chromecast, and AirPlay equipment may rely on local discovery.
Printers, NAS devices, local media libraries, and other shared resources also belong on the trusted home connection. Keep products that require local discovery together unless the complete ecosystem supports communication across separate connections.
An isolated connection can block discovery by design. A camera or smart-home device can use that connection when cloud-managed, but one tied to a local hub, NVR, or automation controller may need to stay with that controller.
Fix a Netgear Guest Network With No Internet Access
A device that joins guest WiFi but reports “no internet” is frustrating. Start with simple checks before resetting the router.
First, connect a phone to the guest service and open a website. If the phone also fails, the issue likely affects the guest profile or WAN connection. If it works, that proves the guest service has basic internet access, but it doesn’t prove the smart device supports the available band or security mode.
| Problem | Likely Cause | Practical Fix |
|---|---|---|
| Guest Wi-Fi is not visible | SSID broadcast is off or the wrong band is enabled | Turn on SSID broadcast and confirm the 2.4 GHz WiFi band is active |
| Device joins but has no connection | Guest settings were not saved or the password is incorrect | Open the router web interface, save the guest settings again, and verify the saved password |
| Smart device cannot join | The device supports only an older band or security mode | Use the 2.4 GHz WiFi band and try WPA2 or a compatible WPA2/WPA3 option |
| App cannot find the router | Phone permissions are missing, or mobile data, VPN, or the wrong Wi-Fi is interfering | Join the correct Wi-Fi, disable mobile data and VPN temporarily, and allow the app’s requested permissions |
| Router has no connection | The modem-to-router cable is loose or plugged into the wrong port | Reseat the cable and confirm it uses the router’s Internet or WAN port |
| Camera or speaker works poorly | The product needs its hub or phone on the same Wi-Fi | Check the product’s hub and phone connection requirements |
Check the Router, Phone, and Cable Connection
The Netgear Nighthawk app can’t manage a router your phone can’t reach. Connect the phone to your home Wi-Fi first. Turn off mobile data and any VPN during setup.
On an iPhone, allow the Nighthawk app to discover devices on the same Wi-Fi. On Android, allow nearby-device permission when prompted, though the labels differ by model.
Also check the Ethernet cable between the modem or ISP gateway and the Netgear router. It belongs in the router’s Internet or WAN port, not a regular LAN port. If routerlogin.net does not open, NETGEAR’s router access troubleshooting guide recommends using the model’s documented IP address instead of assuming one address works for every router.
Try a More Compatible Security Setting
Older smart devices sometimes fail when a router uses newer network security settings. If the device won’t connect, check whether your router offers WPA2-Personal or a compatible WPA2/WPA3 transition option.
Don’t lower security on your primary Wi-Fi just to connect a five-year-old smart plug. If necessary, change WPA2 security only on the isolated guest profile, then restore stronger settings if the device supports them. NETGEAR also recommends checking WPA compatibility when Wi-Fi 7 devices have connection problems.
When Netgear Insight and VLANs Make Sense
Netgear Insight is designed for managed networks rather than a typical one-router home. It can help with compatible access point hardware, managed switches, several wired cameras, or a home office needing stricter network segmentation.
A VLAN divides devices into separate virtual network groups, creating basic isolation. For example, personal devices, smart-home equipment, and visitors can each use a distinct group. A standard guest profile isn’t the same as a full VLAN deployment.
Keep the VLAN Plan Simple
A basic design might assign those groups to separate segments. Firewall rules should block guest traffic from personal or camera-management networks while permitting only required services.
Managed switches need the correct tags on trunk ports. Wireless infrastructure may need coordinated VLAN settings across each location. Wired cameras need correct port assignments, and a misconfigured trunk or port can leave a device connected but offline.
Local discovery may need deliberate exceptions for casting or device control, so rules should allow only what those services require. Menu names, VLAN support, and capabilities vary by product.
For most homeowners, the ordinary guest feature is enough. Choose Netgear Insight and a VLAN-based design when you need wired-and-wireless segmentation, several Wi-Fi locations, or more precise policy control. This approach provides stronger network separation for larger installations.
Guest Wi-Fi Does Not Fix Weak Coverage
Guest isolation controls which devices can communicate. It doesn’t increase range or repair a weak radio link in a detached garage, basement, or far bedroom.
Both radios share the router’s physical coverage. Put the router in an open, central location, away from cabinets, large metal objects, and crowded entertainment centers. If regular Wi-Fi has dead zones, guest connections will have them too.
A single router often works in a small or mid-sized home with an open layout. Larger homes, thick walls, and multiple floors may need mesh Wi-Fi or an additional access point with wired backhaul. A mesh node or satellite improves coverage only when positioned and configured correctly. It doesn’t change the isolation policy.
I started researching home networking after learning that paying for faster internet doesn’t always fix coverage problems. Steve Neff, founder of Better WiFi Shop, built the site around that practical point: match the equipment to your coverage needs, not only the speed on your bill.
Frequently Asked Questions
What is a Netgear guest network used for?
A Netgear guest network provides a separate WiFi connection for visitors or smart home devices. It can keep cloud-managed cameras, bulbs, plugs, and thermostats away from computers and other trusted devices.
Should smart home devices use the 2.4 GHz or 5 GHz guest network?
The 2.4 GHz WiFi band is usually the most compatible choice for smart plugs, cameras, switches, and older thermostats. Use 5 GHz only when the device supports it and needs that band.
Should I allow guests to access my local network?
No, leave local network access disabled when you want an isolated guest setup. Enabling it may help products discover a phone, hub, or streaming device, but it also reduces separation from trusted devices.
Why can’t my smart device connect to the Netgear guest WiFi?
Confirm that the correct guest band is enabled, SSID broadcast is on, and the password is entered correctly. If the device is older, try 2.4 GHz WiFi with WPA2 or a compatible WPA2/WPA3 setting.
Can smart hubs and cameras use a guest network?
They can if they only need cloud access and support the guest connection. A hub, camera, or controller that depends on local discovery may need to stay on the trusted network with the devices it manages.
A Safer Place for Smart Home Devices
A Netgear guest network gives cloud-managed IoT devices a safer place than your primary network. Use guest WiFi on the 2.4 GHz band when device compatibility requires it. Choose a unique SSID and strong password, and keep guest-to-LAN and local network access off by default.
Test one device before moving the rest. This can save you from reconnecting an entire house of cameras, lights, speakers, and smart plugs. Hubs, printers, storage, streaming devices, and equipment requiring local discovery may need to stay on the trusted network.
The right setup is not the most complicated one. Good network separation keeps your smart home connected without granting more access than necessary.