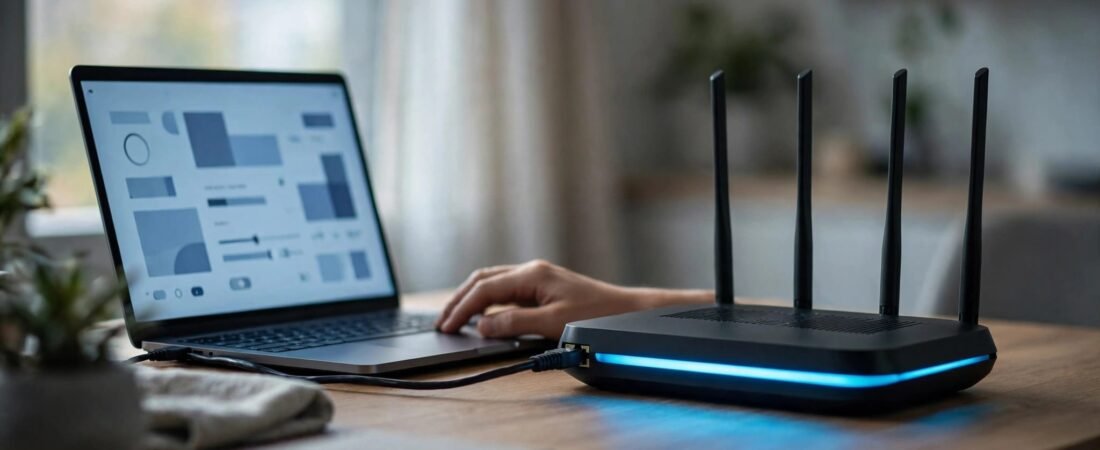
When NETGEAR router settings won’t save, first rule out an expired login, a failed Apply action, or a dropped connection. Changing your WiFi name or password can disconnect you even when the change saves correctly.
Start with one change at a time so you can tell what worked. Use the steps below before resetting your router or buying replacement equipment.
This post may contain affiliate links. If you make a purchase through these links, I may earn a small commission at no extra cost to you.
Key Takeaways
- Connect directly to your main NETGEAR network, preferably through Ethernet, before changing settings.
- Select Apply or Save, allow the page to finish, and reopen the setting to see whether it stayed.
- Try a fresh browser session and current firmware before considering a factory reset, which removes your saved configuration.
Open the Correct NETGEAR Router Settings Page
Connect to Your Main Network
Connect your computer to a router LAN port using Ethernet, or join the router’s main WiFi network. Avoid guest WiFi, which can block access to the dashboard.
Temporarily disconnect your VPN. On a phone, turn off mobile data so it doesn’t leave WiFi when the router restarts.
Enter routerlogin.net or routerlogin.com in your web browser’s address bar, not a search box. Common IP alternatives are 192.168.1.1 and 192.168.0.1.
Remote management is separate from local access. Enable it only when you specifically need to access the router remotely.
NETGEAR’s router login instructions cover these browser access methods.
Use the Administrator Credentials
Many older, unchanged NETGEAR routers use admin as the admin username and password as the default password. Credentials are case-sensitive.
Use the administrator password created during setup if you changed it. A model-specific default may appear on the bottom label, but don’t confuse its WiFi password with the admin password.
Your NETGEAR account password is also separate. It signs you into account-based services, rather than replacing the router’s local administrator login.
Our NETGEAR router login guide covers access problems in more detail.
Rule Out Browser and Apply-Button Problems

Start With a Fresh Session
An old dashboard tab can show outdated values or an expired session. Close other router tabs, sign out, and sign back in.
If the problem continues, clear the browser’s cache and cookies. Try another browser or a private window. Temporarily disable an extension that blocks scripts on the local dashboard, but leave your network security protections in place.
A change that saves in another browser points toward a browser-session problem rather than a failed router.
Apply One Valid Change
Select Apply or Save before leaving the page. Wait for the router to finish processing, then reopen that screen.
Read any error near the fields or at the top of the page. Invalid addresses, conflicting reservations, unsupported password characters, or an incomplete confirmation field can prevent a submission.
For WiFi changes, open Wireless or Wireless Setup, edit the network name and password, then select Apply. If traffic meter is missing or disabled, check whether your router model supports it before treating it as a failed save.
For the admin password, a common path is ADVANCED > Administration > Set Password. Enter the current password, enter and confirm the new password, then apply it. Menu names vary by model.
Check Whether the Change Saved but Access Moved
WiFi Changes Disconnect Devices
Changing the SSID, WiFi password, or security mode can disconnect the device you’re using. Rejoin using the new network details before reopening the dashboard.
An old network entry on your phone doesn’t prove the router reverted. Forget that saved network and reconnect. With Smart Connect enabled, supported bands can share one network name.
Losing WiFi immediately after selecting Apply can be the expected result of a successful wireless change.
IP Changes Require a Different Address
If you changed the router’s LAN IP, the old dashboard address may stop working. Our NETGEAR LAN IP guide explains how to avoid losing access.
On Windows, open Command Prompt, run ipconfig, and find Default Gateway under your active connection.
On a Mac, open System Settings > Wi-Fi > Details > TCP/IP. The Router field shows the gateway address.
Enter that address in your browser. In access-point mode, the gateway may be your upstream router instead.
Also check for an IP address conflict. Two routers shouldn’t use the same LAN address, and a reserved address shouldn’t belong to another device. Don’t disable DHCP without a clear network plan.
Use the Right App and Operating Mode
Nighthawk and Guest WiFi Settings
For supported routers, download the app through nighthawk-app.com, which directs you to the App Store or Google Play. Connect your phone to the router’s WiFi and sign in with your NETGEAR account.
The NETGEAR Genie app is no longer supported. Use Nighthawk where supported, or the browser dashboard for advanced controls.
For guest access, open Guest WiFi and choose 2.4 GHz or 5 GHz where offered. Turn on the guest network, set its SSID and password, and save the change for each available band.
For pause WiFi controls, check the relevant device profile and schedule. For parental controls, verify your app and account location. NETGEAR Armor availability depends on your model and plan.
If the app and browser disagree, close and reopen the app, reconnect locally, then compare the setting with the browser dashboard. Our Nighthawk app troubleshooting guide covers app-specific problems.
Orbi and Access-Point Mode Work Differently
Orbi mesh systems use the Orbi app or orbilogin.com. Don’t assume instructions for a standalone Nighthawk router match an Orbi screen.
Access-point mode also changes which features are available. Your upstream router handles routing functions, so some DHCP, internet, or port-forwarding controls won’t be available on the NETGEAR device.
On some models, the mode control appears under ADVANCED > Advanced Setup > Wireless AP. A missing or disabled control can reflect the operating mode rather than a saving failure.
Restart, Then Update Firmware
If no update or save operation is running, power cycle the router by unplugging it for about 30 seconds, then reconnecting power. Wait for it to finish starting.
A normal restart keeps saved settings. Reopen the page after the router reconnects, then test whether the value remains.
Next, follow NETGEAR’s Nighthawk firmware update instructions:
- Sign in through a browser, preferably using Ethernet.
- Open ADVANCED > Administration > Router Update, then select Check.
- Install an available update and allow the router to restart.
Some models use Firmware Update instead. Allow several minutes, since two minutes isn’t a guaranteed finish time. Don’t unplug, reset, or interrupt the router during installation.
Use firmware for the exact model and hardware version. Updates can address software bugs, but they aren’t a guaranteed cure for settings that disappear.
If changes survive normal use but vanish after every restart, record that pattern. It helps separate an access problem from a configuration-persistence problem.
Protect Your Settings Before a Factory Reset
Before resetting, save a configuration backup if the dashboard still works. A common location is ADVANCED > Administration > Backup Settings.
Our NETGEAR backup and restore guide covers saving the configuration file. Also record your WiFi details, ISP login information, reservations, and port-forwarding rules separately.
A factory reset removes custom settings and returns the router to its factory login or initial setup process. On older models, that commonly means admin and password. It normally doesn’t roll back installed firmware.
Use the recessed Reset or Restore Factory Settings button according to the model’s reset procedure. Avoid outdated 30-30-30 reset advice.
Afterward, configure a basic network manually and test one change through a normal restart. Restoring the old backup immediately can bring back the same configuration problem.
If a clean setup still loses settings, contact NETGEAR support before replacing equipment. If replacement becomes necessary, compare suitable options through our store, Better WiFi Shop, rather than buying solely for a higher advertised speed.
FAQ
How Can I Recover a Forgotten Admin Password?
Try your password manager first. On supported models, NETGEAR’s admin password recovery process uses the serial number from the router’s back label and answers to two previously configured security questions. Recovery must have been enabled earlier. Without it, a factory reset may be necessary.
Why Won’t the Login Page Load?
Confirm you’re on the main NETGEAR network, disconnect your VPN, and try the local IP address. Clear browser cache and cookies if the page still fails. Internet service isn’t required to open the local dashboard, so an ISP outage doesn’t automatically explain a login failure.
Which Security Settings Should I Use?
Replace default administrator credentials and use a strong WiFi password. Enable WPA3-Personal when the router and devices support it. Use an appropriate WPA2/WPA3 compatibility option when needed, rather than outdated WEP or WPA. Keep firmware updated and place smart-home devices on a separate guest or IoT network with suitable isolation.
Why Is Internet Access Still Down After Saving?
Saving settings doesn’t confirm a working internet connection. Check the modem or ONT, the cable connected to the router’s Internet/WAN port, and any reported ISP outage. Avoid repeatedly changing WiFi settings when the dashboard remains accessible and the problem is upstream. After service returns, a speed test can assess performance, but it can’t confirm that router settings were saved.
Keep the Fix Smaller Than the Problem
Start with a fresh local login, apply one valid change, and reopen the page. Reconnect after WiFi or IP changes before deciding that your NETGEAR router settings failed to save.
Use firmware updates and a configuration backup before considering a reset. A settings problem alone doesn’t mean you need a faster internet plan or a new router.