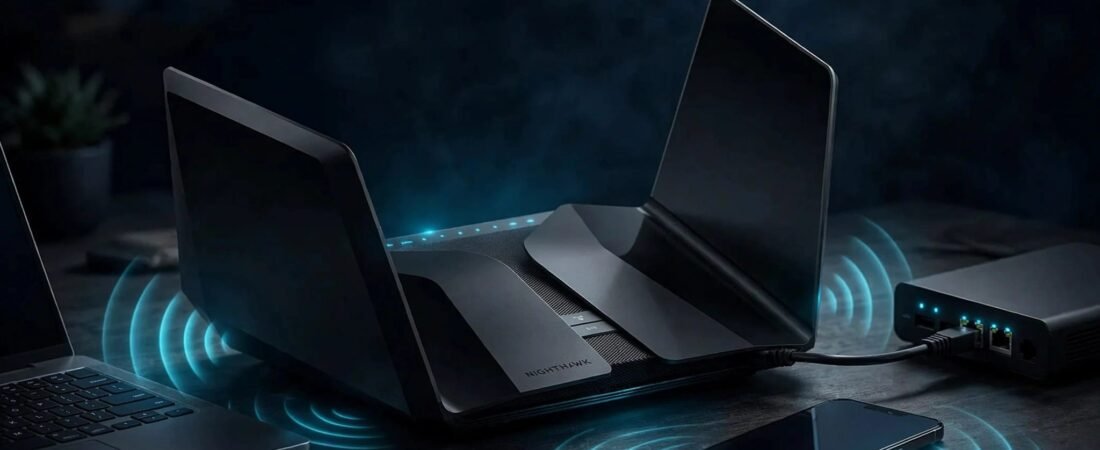
A new router won’t put every device on 6 GHz. Netgear WiFi 6E setup has two parts: get the router online, then check whether each phone or computer can use the new band.
The 6GHz band needs a compatible device and the right security settings. Start with the cable and modem, then use the Nighthawk app or a browser to finish setup.
This post may contain affiliate links. If you make a purchase through these links, I may earn a small commission at no extra cost to you.
Key Takeaways
- Connect the modem to the NETGEAR router’s internet port or WAN port, not a regular LAN port.
- Use the Nighthawk app for guided setup. If it can’t find the router, connect to the router’s WiFi and try its browser setup page.
- Only compatible devices can join the 6 GHz band. Older phones, TVs, and smart-home devices can keep using 2.4GHz or 5GHz.
Start Your Netgear WiFi 6E Setup at the Modem
Before opening an app, identify the equipment that brings internet into your home. Cable service may use a separate unit or a combined modem and router. Fiber service may use an optical network terminal, often called an ONT, or a provider gateway.
If you’re replacing a cable modem/router combination, confirm that the new unit is approved and activated by your ISP. Adding a standalone NETGEAR router behind existing equipment is a different job. Our guide to activating your own router with your ISP helps you sort out that distinction.
Connect the Internet Port
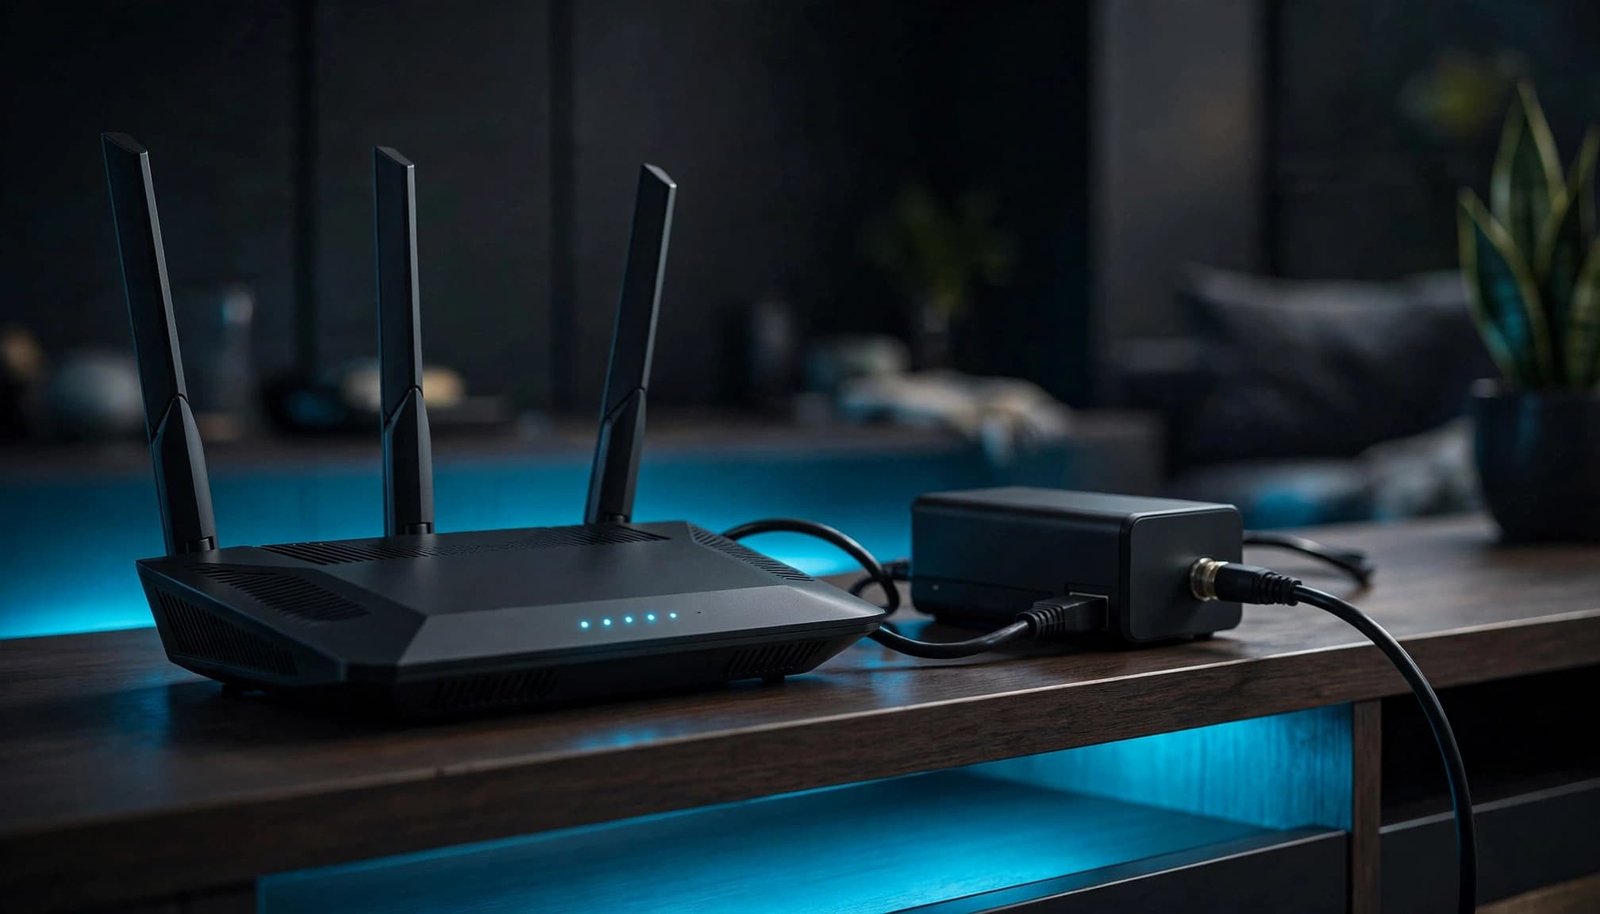
Turn off the modem or gateway. Run an Ethernet cable from its active Ethernet connection to the NETGEAR router’s internet port. Don’t use one of the router’s numbered LAN ports for this cable.
Power up the modem or gateway first and let it finish starting. Then connect the router’s power adapter and wait for its lights to settle. Check your model’s port diagram rather than assuming every NETGEAR router uses the same layout. For the RAXE300 router, find setup documents and the manual on its RAXE300 product support page.
Give the Router Some Space
Put the router on an open surface, not inside a cabinet or behind a TV. A central location is helpful, but the cable coming from your modem or ONT may limit your choices.
If an ISP gateway is also broadcasting WiFi, decide which device will handle routing. Some homes use bridge mode on the gateway; others keep the gateway in place and adjust the new router’s role. Check the provider’s requirements before changing those settings.
Set Up the Router With the Nighthawk App
For a compatible NETGEAR router, the Nighthawk app is usually the easiest first route. Keep your phone near the router and have the WiFi details printed on the router label handy.
Join the Router’s Starting Network
- Connect your phone to the default WiFi network shown on the router label.
- Open the NETGEAR app and choose the option to set up a new router.
- Select the correct product when prompted and follow the connection checks.
- Choose your WiFi network name and password, then finish the app’s internet check.
Some models offer a QR code to help your phone join the starting network. If yours doesn’t, enter the label’s WiFi password in your phone’s settings. Your phone may say the network has no internet until router setup is complete.
Keep the Passwords Straight
The NETGEAR account, router administrator login, and home WiFi password aren’t necessarily the same. Your WiFi password connects devices. The admin password protects settings such as guest network access and firmware updates.
You can reuse your old WiFi name and password to help devices reconnect. Choose a new password instead if the old one has been shared widely. Save the administrator password separately, especially if you plan to manage the router through a browser later.
Use routerlogin.net When You Need Browser Setup
The Nighthawk app isn’t required to finish installation. A browser can open the router web interface if the app can’t detect your router or your internet provider gave you settings to enter manually.
Open the Router’s Local Settings
Connect a computer or phone to the NETGEAR router’s WiFi, or connect a computer by Ethernet. Enter routerlogin.net directly in the browser’s address bar. If it doesn’t open, check your model’s manual for its local address. The RAXE300 router also documents 192.168.1.1.
Follow the first-time setup prompts. On the RAXE300 router, the administrator username is admin, and the admin password is the one created during initial setup. Don’t assume that password, used as a default on some older NETGEAR routers, applies to your model. Your WiFi password isn’t a substitute for local admin settings.
If you own a different model, use its own manual. The RAXE500 support page, for example, provides documents for that router rather than the RAXE300.
Enter ISP Settings Only When Required
Most households can start with automatic internet detection. If your ISP gave you PPPoE credentials, a static IP address, or VLAN settings, use the browser’s internet settings and enter the values the provider supplied. Don’t guess at them to fix a failed connection.
A phone using cellular data or a VPN may have trouble opening a local router page. Stay connected to the NETGEAR network, turn off mobile data temporarily if needed, and try again. A computer connected by Ethernet is another option.
Connect Compatible Devices to the 6 GHz Band
After the router is online, check its wireless bands. A tri-band WiFi 6E model such as the RAXE300 router offers three bands, but they don’t serve the same devices.
| Band | Practical use | What the device needs |
|---|---|---|
| 2.4GHz | Older gear and many smart-home devices | Support for 2.4 GHz WiFi |
| 5GHz | Everyday phones, computers, and TVs | Support for 5 GHz WiFi |
| 6GHz | Compatible newer phones and computers | Support for 6 GHz through WiFi 6E or suitable WiFi 7 hardware |
Older smart-home products often rely on 2.4GHz, while everyday phones and computers commonly use 5GHz.
A 6GHz connection isn’t guaranteed to be faster in every room. Device capability, distance, walls, and your internet plan still matter.
Check the Device, Not Just the Router
Look up your phone’s or computer’s wireless specifications and confirm 6 GHz support. A device labeled only WiFi 6 isn’t necessarily a WiFi 6E device. WiFi 7 clients can use 6 GHz when their hardware includes that band, so the label alone isn’t enough to confirm support. NETGEAR’s RS300 product information is one example of a tri-band WiFi 7 router.
The 6 GHz connection also requires WPA3, which is part of its network security requirements. Don’t weaken the 6 GHz security settings to accommodate an older device. Let that device use a supported band instead. If a laptop should support 6 GHz but can’t see it, check for wireless adapter driver and operating system updates.
Find Out Which Band It Joined
Your router may show separate network names or use one name for the wireless network, with band selection handled automatically. If you see a separate 6 GHz network, choose it on the compatible device and enter its password. If the router uses one name, check the device’s WiFi details or the router’s connected-device information to see which band it chose.
Don’t turn off 2.4 GHz because an older smart plug won’t join. Many smart-home products need that band. A temporary separate 2.4 GHz name may help with setup if your router offers the option.
Check Guest WiFi, Firmware, and Security
Getting online isn’t the end of setup. A few settings can prevent problems later, especially when visitors or older devices use your network.
Keep Visitors on a guest network
The RAXE300 supports guest access on its wireless bands, but this feature is off by default. In admin settings, enable the band you need and set a distinct name and password; labels vary by model and firmware.
Unless guests need a shared printer, leave access to your local network turned off. On the RAXE300 router, guest devices are separated from the main WiFi and wired network unless that access is allowed. Check the setting before assuming a guest network is private.
Update Before Changing Advanced Settings
Check for a firmware update in the Nighthawk app or router web interface. Use the support page for your exact model to review release information, and don’t interrupt power while the router updates.
NETGEAR Armor may appear during setup on supported models. It’s optional for basic connectivity, and a trial may become a paid yearly subscription, so review the terms before accepting. Smart Parental Controls and other app features vary by model and plan; parental controls aren’t required to connect a device to 6 GHz.
Fix the Most Common Setup Problems
Before resetting the router, identify which connection failed. A phone that can’t find the router, a router that can’t reach the ISP, and a laptop that can’t see 6 GHz need different fixes.
The App Says “Router Not Found”
Confirm your phone joined the NETGEAR router’s wireless network, not an old gateway, guest network, or nearby extender. Stay close to the router. Temporarily disable a VPN and mobile data, then reopen the app.
If your phone asks for local-network or nearby-device permission, allow it for setup. An iPhone’s private WiFi address or Android’s randomized address can sometimes interfere with detection. Try turning that feature off for the setup network, then turn it back on after checking that everything works. If the app still won’t connect to your RAXE300 router, use browser setup instead.
The Router Says “Internet Not Connected”
Reseat the Ethernet cable at both ends and confirm it reaches the router’s internet port. Restart the modem or gateway first. Wait for it to come back online before restarting the router.
If you replaced a cable modem too, confirm that the ISP activated it. If your provider requires connection settings, compare them with what you entered in the web interface. Don’t factory reset first. A reset erases saved WiFi names, passwords, and other settings without fixing an unactivated modem or loose cable.
What If You Have a NETGEAR Mesh System?
Don’t use RAXE300 instructions to pair a satellite with a mesh system; follow the instructions for your NETGEAR router’s mesh model instead. Satellite syncing depends on the exact mesh model and its app or setup guide. Find the model number on the main unit and satellite, then use the matching instructions through NETGEAR’s support site.
Mesh is a coverage choice, not a requirement for 6 GHz. A Mesh WiFi 6 System isn’t automatically a WiFi 6E system. If weak WiFi in rooms far from the router is the problem, see our mesh WiFi setup guide before buying more equipment. You can also compare standalone and mesh options at BetterWiFiShop.com. The right choice depends on your home layout and where the internet connection enters the house.
Frequently Asked Questions
Can an older device connect after I install a WiFi 6E router? Yes, if it supports one of the router’s older WiFi bands. It won’t gain 6 GHz access without compatible hardware.
Why can my phone see the WiFi network but not reach the internet? It may be connected to the router while the router has no working connection to the modem or ISP. Check the Internet port, modem status, and any required provider settings.
What if routerlogin.net doesn’t load? Connect to the router first, then try the local address listed in your model’s manual. The address can vary by model. You can also use a computer connected by Ethernet. Don’t enter routerlogin.net into a search box.
Should I use the app or browser to set up guest WiFi? Use whichever shows the settings your model needs. The browser is often helpful when you want to review the guest band and whether visitors can access your main network.
Choose the Connection Your Devices Can Use
A working NETGEAR WiFi 6E setup starts with the connection from the modem to the router. Once online, the app or browser can finish the network settings.
Device compatibility determines who can use 6 GHz. Check compatibility before troubleshooting a missing band. Older devices can stay on 2.4 GHz or 5 GHz, while compatible devices use the newer connection. The WiFi network name helps identify the network to join.