
A slow website or an app that won’t connect doesn’t always mean your internet plan is the problem. DNS helps your network find website names, but changing it won’t increase your internet speed.
If you searched “change DNS Netgear router”, you probably want a simple way to set a preferred DNS provider across your devices. The process is usually quick, but it helps to know what will change, what won’t, and how to recover if the settings refuse to save.
This post may contain affiliate links. If you make a purchase through these links, I may earn a small commission at no extra cost to you.
Key Takeaways
- Changing DNS on a NETGEAR router can improve domain-name reliability or provide filtering and privacy features, but it will not increase bandwidth or fix weak Wi-Fi.
- Record the current DNS settings before making changes, then use a matched primary and secondary DNS pair from the provider’s official documentation.
- On most models, open Advanced > Setup > Internet Setup, choose Use These DNS Servers, enter both addresses, and select Apply.
- Test the new settings on multiple devices, remembering that VPNs, private DNS, encrypted DNS, or device-level settings can override the router’s DNS.
- If the settings will not save, try a private browser window, a direct Ethernet connection, or a firmware update before considering a factory reset.
What DNS Changes on a NETGEAR Router
DNS stands for Domain Name System. It translates a name like routerformyisp.com into IP addresses that computers use online.
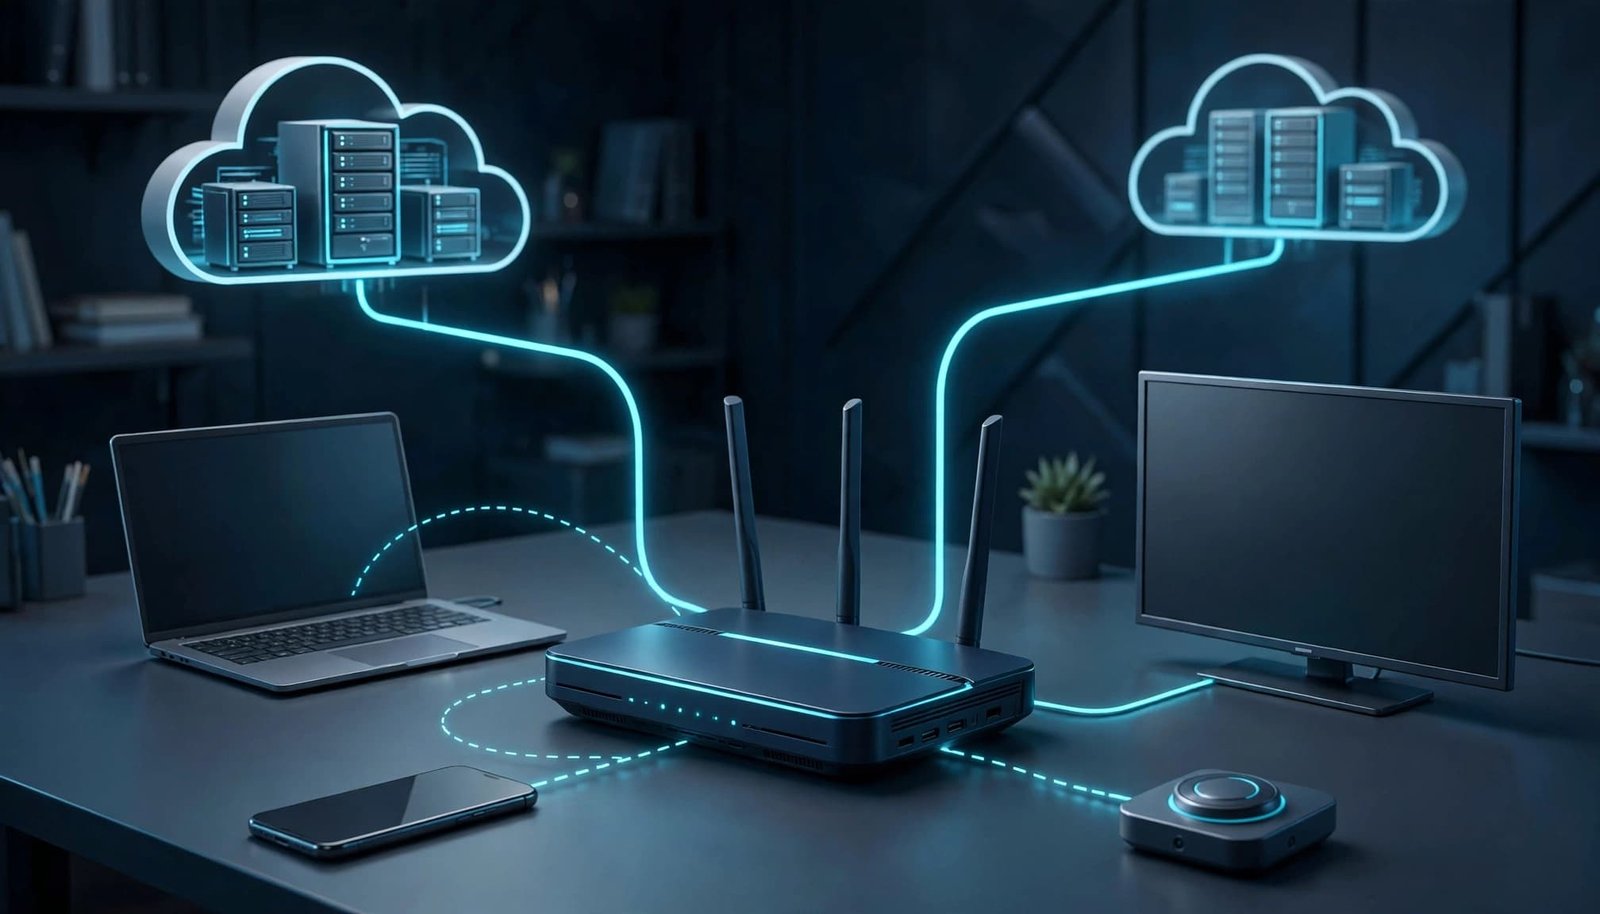
Internet service providers commonly provide DNS automatically. The router may pass those settings to devices through a DHCP assigned configuration. A primary DNS address and a secondary DNS address are IP addresses used to resolve domain names. Devices using the router’s normal network settings can then use the selected service provider.
What Changing DNS Can Help With
A different DNS service may resolve website names more reliably when your ISP’s DNS has a problem. Some providers also offer filtering options for malware or adult content.
It can help with:
- Website names that fail to load while your connection is otherwise working.
- A DNS service you prefer for privacy, filtering, or account-based controls.
- A consistent DNS choice for phones, computers, TVs, and game consoles connected at home.
What DNS Will Not Fix
DNS doesn’t increase bandwidth, fix an undersized internet plan, or improve low WAN throughput. It also can’t repair weak Wi-Fi or damaged cabling.
If your wired connection is fast but Wi-Fi is weak, focus on router placement, walls, interference, or mesh coverage. If your wired speed is slow too, test the modem or ONT connection, router WAN port, and Ethernet cable before changing advanced settings.
DNS helps devices find online services. It does not add bandwidth to your internet plan or improve a weak wireless signal.
Before You Enter New DNS Addresses
Write down your current settings, including whether DNS is automatic or manual. Take a quick photo of the Internet Setup page, whose name may differ by model. If the new service causes a problem, switch back to automatic DNS or restore the recorded addresses.
You also need a matched primary DNS and secondary DNS pair from the DNS service provider’s official documentation. Do not guess at the numbers, and record the existing values before changing them.
Check Your Router Model and Login Details
NETGEAR’s user interface and menu names differ by model and firmware version. The model number is usually printed on the bottom or back of the router.
Connect a computer or phone to your NETGEAR Wi-Fi connection, or use an Ethernet cable. In a browser, go to routerlogin.net. If that page does not open, try routerlogin.com or 192.168.1.1.
These defaults apply only if you haven’t changed the login credentials:
- default username:
admin - default password:
password
Use your own password if you changed it during setup. If you cannot remember it, try password recovery before factory-resetting the router. A reset removes Wi-Fi names, passwords, port forwarding rules, and other saved settings.
Choose DNS Servers That Fit Your Goal
Most DNS providers offer two addresses for reliability. Enter both when they’re available. The secondary address gives the router another option if the primary server has an outage.
Avoid mixing addresses from unrelated providers unless the provider tells you to do so. Using a matched pair makes troubleshooting easier later.
For older Nighthawk models, NETGEAR’s guide to Internet connection settings shows the same basic DNS fields, even if the menu layout looks different on your router.
Change DNS Netgear Router Settings Step by Step
The “change DNS Netgear router” process is similar on most Nighthawk and Orbi interfaces. Depending on the model and firmware, the web interface may label these controls Internet, WAN, or something similar.
- Open a browser while connected to your router.
- Go to
routerlogin.netand sign in. - Open Internet or Internet Setup. On many models, the path is Advanced > Setup > Internet Setup.
- Find the Domain Name Server (DNS) Address section.
- Select Use These DNS Servers instead of getting DNS automatically from your ISP.
- Enter the primary DNS value in the first field.
- Enter the secondary DNS value in the second field.
- Select Apply and wait for confirmation that the settings were saved.
NETGEAR’s official static DNS server instructions explain how to set static Domain Name System servers with the same path and field wording.
The router may briefly reconnect after you select Apply. That’s normal. Leave the page open until the settings confirmation appears.
These fields generally cover IPv4 DNS. If the router exposes separate IPv6 DNS fields, enter the supplied IP addresses only when your provider gives IPv6 instructions. Otherwise, leave those fields set to automatic.
Do Not Change the Wrong Address Fields
The settings page can include the WAN address type, subnet mask, gateway, MAC address, and DNS settings. Leave the WAN address type, subnet mask, gateway, and MAC settings alone unless your ISP provided specific instructions.
DNS values aren’t your router’s local address. They also aren’t the IP address of your modem, ISP gateway, or NAS device. Enter values only in the two dedicated DNS fields.
If the page asks whether your WAN address is dynamic or static, keep your existing setting. Most home internet plans use a dynamic WAN address.
Confirm the New DNS Settings Work
After the router reconnects, open a few websites on a phone and a computer. Test at least two devices, including a wired computer when possible. Router-level DNS affects devices receiving settings from the router, but a client device may use manually entered DNS, a VPN, private DNS, or encrypted DNS instead.
Check the router’s status page or use a reputable DNS test to see which resolver is answering. Results may differ while devices renew their connections, so they don’t all need to show the new resolver immediately.
Restart Devices That Keep Using Old Results
Most devices pick up the new router settings on their own. If one device still cannot load sites or shows stale results, toggle its Wi-Fi off and on. Restarting the device can also clear an old network connection.
For a desktop, disconnect and reconnect the Ethernet cable or restart the computer. A good-condition Cat5e cable is usually enough for normal Gigabit home runs. Do not replace in-wall cabling until you test with a short, known-good Cat5e or Cat6 cable.
Separate DNS Problems From Wi-Fi Problems
Try the same site on a wired computer if possible. Good wired results with poor Wi-Fi point to coverage, placement, interference, or device limitations.
A router setting cannot overcome thick walls or a router hidden inside a cabinet. A single router can work well in a smaller, open home. Larger homes, multiple floors, and dead zones may need a mesh system instead.
When NETGEAR DNS Settings Will Not Save
A radio button that won’t select or an Apply button that does nothing is frustrating, but it doesn’t always mean the router is failing. Start with the browser session before changing or resetting hardware.

Try a Clean Browser Session First
Sign out of the router page, then reopen it in a private or incognito browser window. Disable a VPN during the local setup session. A VPN can block access to local router pages or route traffic through different DNS settings.
If that doesn’t work, try another web client or a different connected device. Cached data, a VPN, an extension, or model-specific firmware can leave the user interface incomplete or disable controls.
Use a direct connection to the router when possible. A computer connected by Ethernet removes weak Wi-Fi as a factor while you edit settings.
Update Firmware, Then Retry
Check for a firmware update through the router’s normal administration page or the Nighthawk app. Menu paths vary, so consult the model-specific support documentation for exact steps.
Don’t unplug the router during the update. Let it restart fully, reconnect to it, and try the DNS change again. If settings still won’t save, contact NETGEAR support.
Don’t factory-reset the router as a first response. Resetting is reasonable only after you’ve recorded your setup details and tried the simpler fixes.
Use a Device-Level DNS Override If Needed
You can manually set DNS on one computer, phone, streaming device, or game console. This can be a practical short-term workaround when the router interface is unavailable.
Remember that a device-level setting overrides the DNS supplied by your router. That can make later troubleshooting confusing. Record which devices use custom DNS addresses, especially in a small office with shared printers, cameras, or a NAS.
Static DNS and Dynamic DNS Are Different Settings
Static DNS selects the resolver that translates website names. Dynamic DNS uses a DDNS service to track a changing WAN IP address, pointing it to a stable host name. Unlike static DNS, Dynamic DNS publishes that host name for remote access.
You don’t need Dynamic DNS to change resolver settings on your router. That feature matters when you want remote access to a home service, such as a VPN or approved remote-management setup.
Set Up DDNS Only When You Need Remote Access
On supported NETGEAR models, Dynamic DNS settings are often under advanced setup, although menu paths vary by model. You may see a mynetgear.com host name option or a No-IP account.
Follow NETGEAR’s current Dynamic DNS account setup instructions for your model. If you choose a No-IP account, follow that provider’s account instructions. Use a strong router admin password before enabling remote access.
After creating a free mynetgear.com host name, NETGEAR says you must confirm the mynetgear.com host name every 30 days to prevent deletion. Its mynetgear.com guide on keeping a free Dynamic DNS host name active explains how to confirm the mynetgear.com host name.
Verify the DDNS Host Name Matches Your WAN IP
Check the router’s current public WAN IP address on its status page. Then confirm that your DDNS host name resolves to the same WAN IP address.
A matching address means the Dynamic DNS update is working. It doesn’t guarantee outside access will work. Your ISP gateway may still create double NAT, and some providers use CGNAT, which blocks inbound connections even with correct router settings.
Frequently Asked Questions
Will changing DNS make my internet faster?
Changing DNS does not increase your bandwidth or improve a weak wireless signal. It may make website lookups more reliable if your ISP’s DNS service is having problems.
Where do I change DNS on a NETGEAR router?
Sign in at routerlogin.net, then open Advanced > Setup > Internet Setup on many models. Select Use These DNS Servers, enter the primary and secondary addresses, and choose Apply.
Should I enter both primary and secondary DNS addresses?
Yes, enter both addresses when the DNS provider supplies them. A matched pair gives the router another resolver to use if the primary server is unavailable.
What should I do if the DNS settings will not save?
Try signing in through a private or incognito browser window, disabling your VPN, or connecting to the router with Ethernet. You can also try another device or update the router’s firmware before contacting NETGEAR support.
Is Dynamic DNS the same as changing DNS servers?
No. Static DNS selects the resolver used to translate website names, while Dynamic DNS links a changing public IP address to a stable host name for remote access. You do not need Dynamic DNS to change the resolver on your router.
A Better DNS Setup Starts With a Clear Goal
Changing DNS is a reasonable fix when name lookups fail or you want one preferred provider throughout your home network. Save the original settings, enter the correct addresses, and test the change on multiple devices.
If the settings page refuses to cooperate, try a clean browser session, a direct connection, and a firmware update. Good troubleshooting separates DNS, Wi-Fi coverage, wired links, and ISP service instead of treating them as the same problem.